Contents
- 1 ✨ Giới thiệu
- 2 Phần 1: Cài đặt NSClient++ trên Windows
- 3 Phần 2: Cài đặt và cấu hình Nagios Core trên Ubuntu 24.04
- 4 ⚡️ Phần 3: Giải thích các dịch vụ giám sát cụ thể
- 5 Cuối cùng: Kiểm Tra và Khởi động lại Nagios server sử dụng lệnh.
- 6 Một số lưu ý
- 7 Truy cập giao diện Web
- 8 Xử lý lỗi thường gặp
- 9 Kết luận
✨ Giới thiệu
NSClient++ là một agent mạnh mẽ giúp giám sát hệ điều hành Windows từ xa thông qua Nagios Core. Bài hướng dẫn này sẽ hướng dẫn bạn từng bước cài đặt, cấu hình và tích hợp monitor đầy đủ các thông tin quan trọng như: disk, uptime, service và event log trong Windows server của bạn.
Phần 1: Cài đặt NSClient++ trên Windows
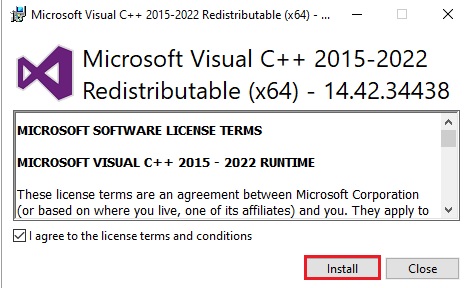
Do bạn có thể gặp lỗi trong khi cài đặt NSClient++ trong Windows với thông báo:
“There is a problem with this Windows Installer package. A DLL required for this install to complete could not be run.”
Đây là lỗi phổ biến khi sử dụng trình cài đặt MSI. Lỗi này thường xảy ra khi hệ thống WIndows thiếu các thành phần cần thiết hoặc thiếu quyền truy cập thư mục. Nguyên nhân do thiếu các gói Microsoft Visual C++ Redistributable: NSClient++ có thể yêu cầu các thư viện từ Visual C++ Redistributable để hoạt động đúng cách.
Do đó chúng ta cần vào đường dẫn chính thức từ Microsoft để tải Microsoft Visual C++ Redistributable – bạn nên cài đủ cả bản x86 (32-bit) và x64 (64-bit) để đảm bảo tương thích với các phần mềm như NSClient++:
Trang download Visual C++ Redistributable mới nhất (2022):
https://learn.microsoft.com/en-us/cpp/windows/latest-supported-vc-redistCác bước cài đặt:
Truy cập đường dẫn trên.
Cuộn xuống mục “Visual Studio 2015, 2017, 2019, and 2022”.
Tải xuống files :
VC_redist.x64.exe(cho hệ thống 64-bit)
VC_redist.x86.exe(cho ứng dụng 32-bit)Chạy file và làm theo hướng dẫn để cài đặt.
Sau khi cài xong, khởi động lại server và làm theo các bước cài đặt NSClient++ tiếp theo.
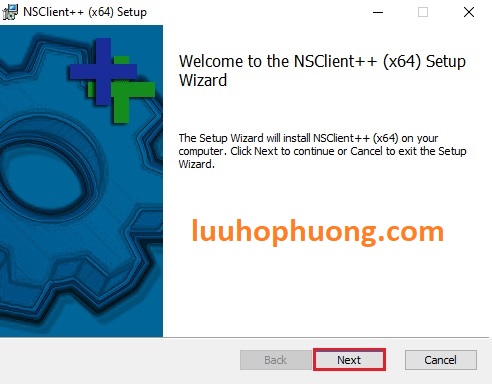
✅ Bước 1: Tải và cài đặt
- Tải NSClient++ từ trang: Releases · mickem/nscp
- Click đúp và file cài đặt và click Next để tiếp tục.
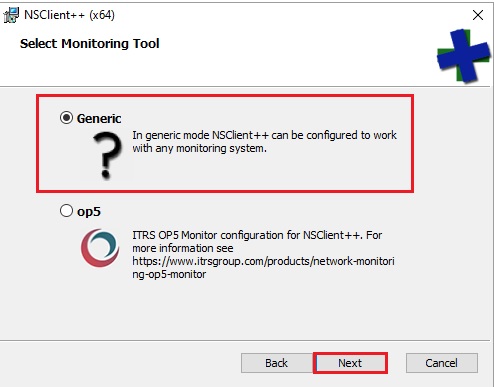
- Chọn Generic và click Next để tiếp tục.
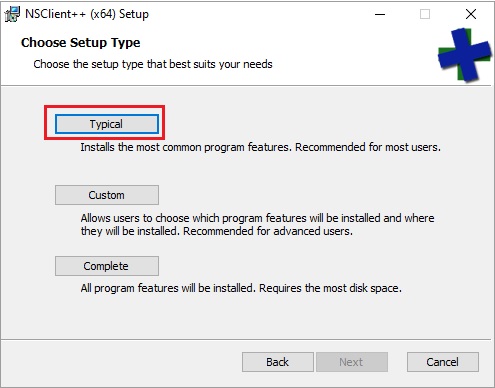
- Chọn Click vào Typical
-
- Enable:
NRPE Server,Check NSClient++,CheckExternalScripts
- Enable:
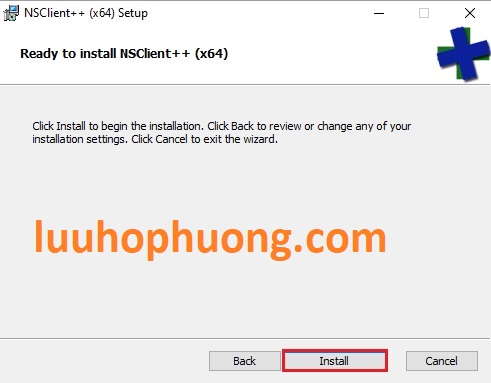
- Click vào Install để cài đặt NSClient++.
✅ Bước 2: Cấu hình nsclient++.ini
Mở file C:\Program Files\NSClient++\nsclient.ini và Bật (enable) các module cần thiết như trong file cấu hình này:
; in flight – TODO
[/modules]
; Undocumented key
CheckNSCP = disabled
; Undocumented key
CheckEventLog = enabled
; Undocumented key
CheckHelpers = disabled
; Undocumented key
CheckDisk = enabled
; Undocumented key
NRPEServer = enabled
; Undocumented key
CheckSystem = enabled
; Undocumented key
CheckExternalScripts = enabled
NRPEServer = enabled
; in flight – TODO
[/settings/default]
; Undocumented key
allowed hosts = 127.0.0.1,192.168.146.164
; Undocumented key
password = PxPJWVDJ5AJoQYyo
[/settings/external scripts/alias]
checkdrive = check_drivesize drive=c: “warning=used > 80%” “critical=used > 90%” show-all
checkmemory = check_memory “warning=used > 80%” “critical=used > 90%” show-all
Lưu ý: Hãy thay 192.168.146.164 bằng IP của máy chủ Nagios của bạn.
Mở Command Prompt (cmd) với quyền Administrator, và Khởi động lại dịch vụ NSClient++ .
net stop nscp
net start nscp

Phần 2: Cài đặt và cấu hình Nagios Core trên Ubuntu 24.04
✅ Bước 1: Cài plugin NRPE, thao khảo bài viết Hướng dẫn cài đặt và cấu hình Nagios Core trên Ubuntu 24.04
✅ Bước 2: Thêm host Windows vào file /usr/local/nagios/etc/servers/windows.cfg
Định nghĩa host:
define hostgroup {
hostgroup_name windows-servers
alias Windows Servers
}
define host {
use windows-server
host_name winhost
alias Windows Host
address 192.168.146.3
}
define service {
use generic-service
host_name winhost
service_description C: Drive Usage
check_command check_nrpe!CheckDrive!-a drive=c: MaxWarn=80% MaxCrit=90% ShowAll=long
}
define service {
use generic-service
host_name winhost
service_description CPU Usage
check_command check_nrpe!CheckCPU!-a warn=80 crit=90 time=5m time=1m time=30s
}
define service {
use generic-service
host_name winhost
service_description Memory Usage
check_command check_nrpe!CheckMemory!-a ShowAll MaxWarn=80% MaxCrit=90%
}
define service {
use generic-service
host_name winhost
service_description Windows Update Service
check_command check_nrpe!CheckServiceState!-a service=Wuauserv
}
define service {
use generic-service
host_name winhost
service_description System Uptime
check_command check_nrpe!CheckUptime
}
define service {
use generic-service
host_name winhost
service_description System_Errors_EventLog
check_command check_nrpe!CheckEventLog!-a …
}
⚡️ Phần 3: Giải thích các dịch vụ giám sát cụ thể
1. Kiểm tra ổ đĩa (Disk)
define service {
use generic-service
host_name winhost
service_description C: Drive Usage
check_command check_nrpe!CheckDrive!-a drive=c: MaxWarn=80% MaxCrit=90% ShowAll=long
}
2. Kiểm tra dịch vụ Windows Update
define service {
use generic-service
host_name winhost
service_description Windows Update Service
check_command check_nrpe!CheckServiceState!-a service=Wuauserv
}
⏱️ 3. Kiểm tra uptime Windows Server
define service {
use generic-service
host_name winhost
service_description System Uptime
check_command check_nrpe!CheckUptime
}
4. Giám sát EventLog (nhật ký sự kiện)
define service {
use generic-service
host_name winhost
service_description System_Errors_EventLog
check_command check_nrpe!CheckEventLog!-a …
}
Cuối cùng: Kiểm Tra và Khởi động lại Nagios server sử dụng lệnh.
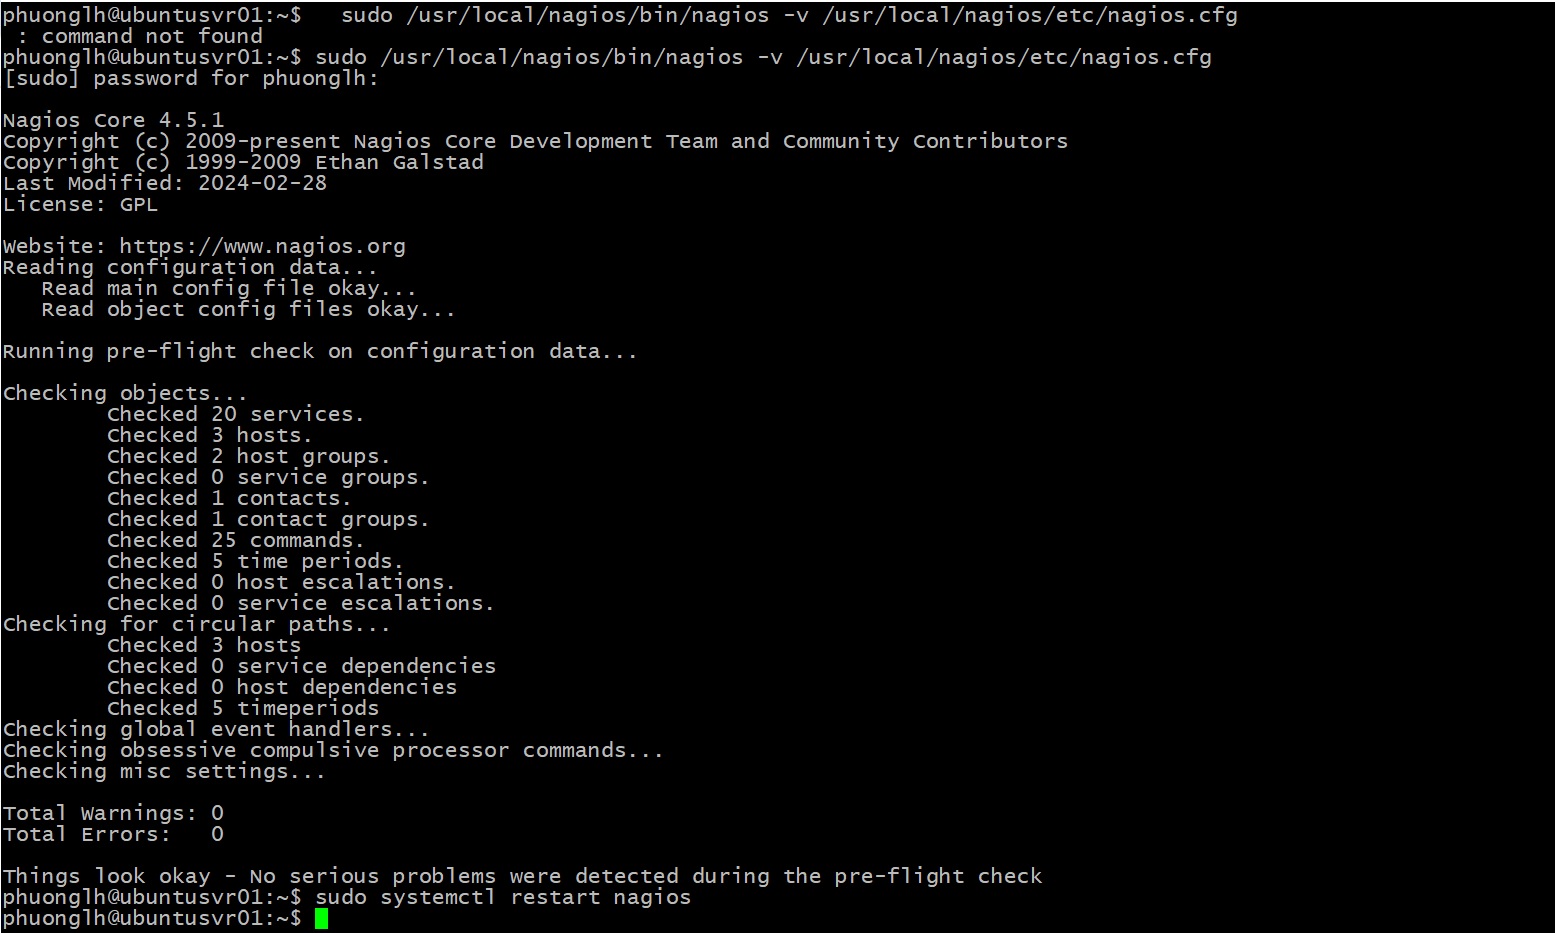
Bước 1: Kiểm tra cấu hình
sudo /usr/local/nagios/bin/nagios -v /usr/local/nagios/etc/nagios.cfg
Bước 2: Khởi động dịch vụ Nagios
sudo systemctl restart nagios
Một số lưu ý
- Các tên dịch vụ Windows có thể lấy qua PowerShell: Get-Service
-
NSClient++ hỗ trợ tự viết script trong thư mục:
C:\Program Files\NSClient++\scripts\
Truy cập giao diện Web
Truy cập http://<IP-máy-chủ-Nagios>/nagios
Vào mục Services để xem kết quả giám sát.
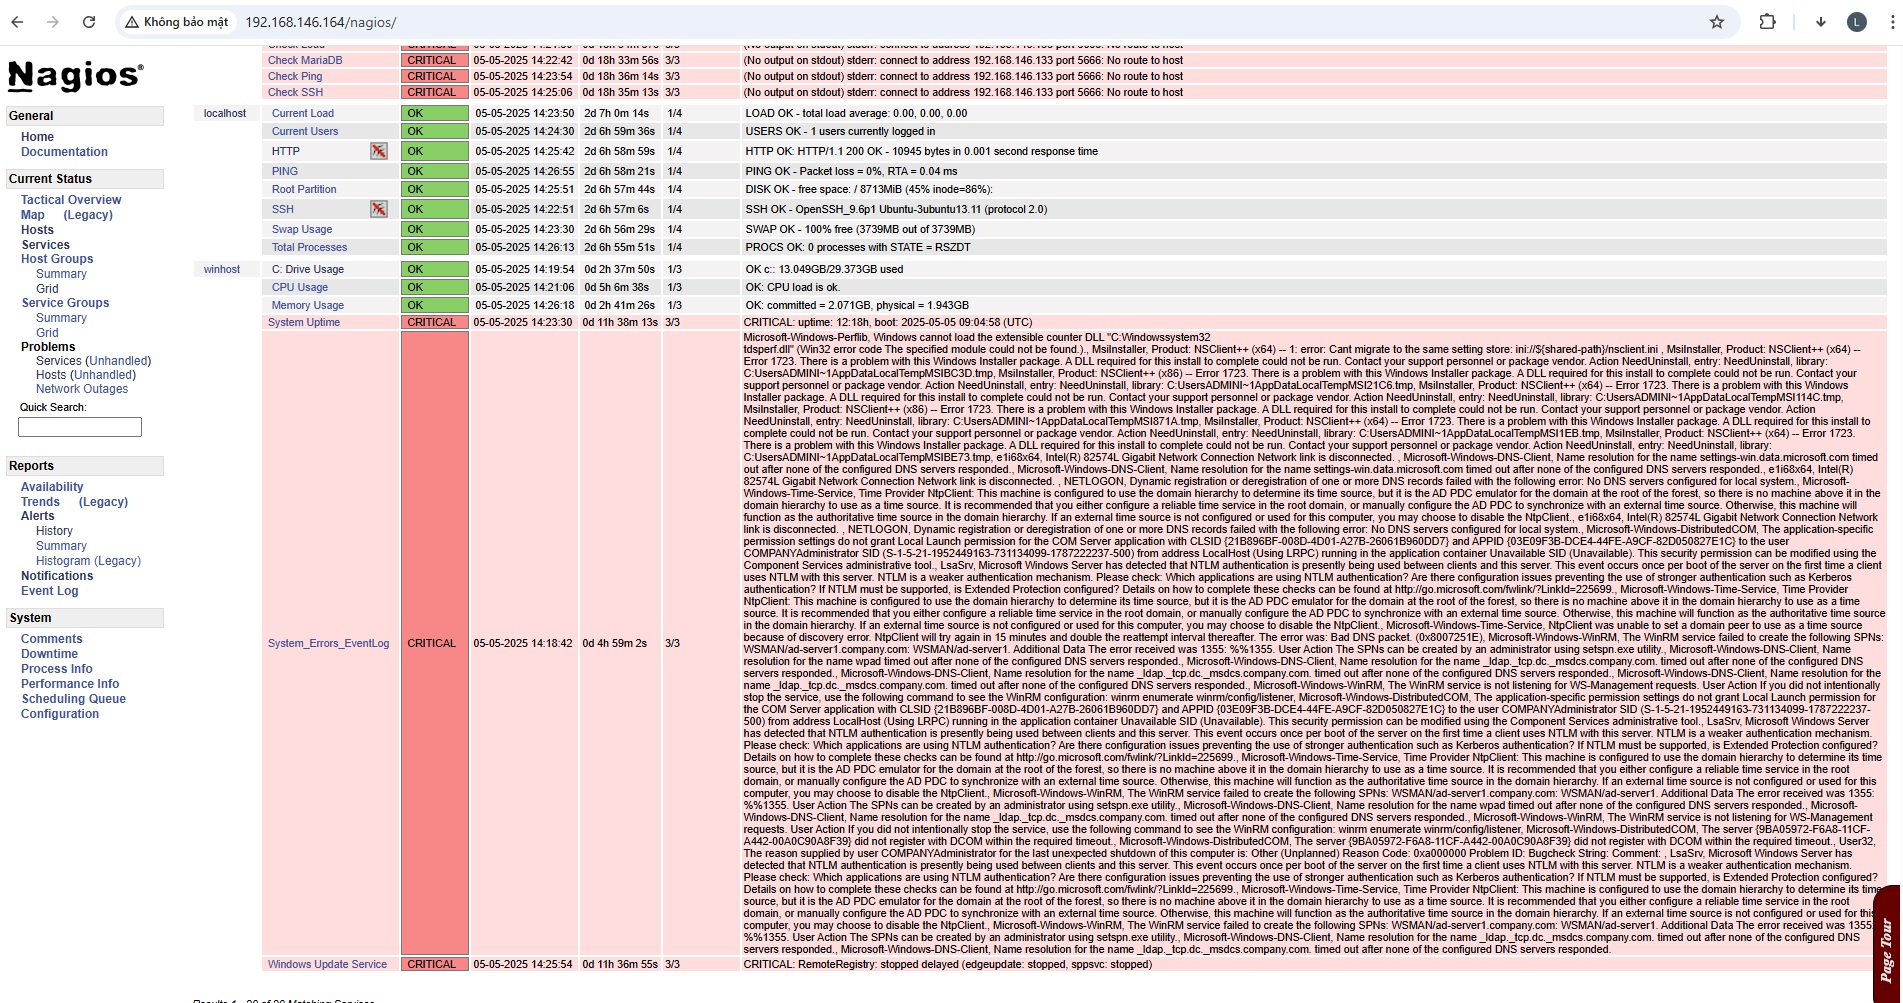
Xử lý lỗi thường gặp
| Lỗi | Nguyên nhân | Cách xử lý |
|---|---|---|
| Unknown command(s): CheckDrive | Thiếu plugin hoặc sai tên command | Kiểm tra tên lệnh và cấu hình trong nsclient.ini |
| Could not connect: Connection reset by peer | Chưa bật NRPE hoặc firewall chặn | Kiểm tra port 5666 và restart dịch vụ NSClient++, hoặc bạn cần phải tắt windows firewall đi |
| Could not find any hostgroup | Thiếu khai báo hostgroup | Khai báo hostgroups windows-servers trong template hoặc bỏ đi nếu không cần |
Kết luận
Việc tích hợp Nagios Core với NSClient++ giúp bạn dễ dàng giám sát hệ thống Windows từ xa một cách chính xác và hiệu quả. Bài viết trên không chỉ hướng dẫn cài đặt mà còn cấu hình giám sát chi tiết các thành phần quan trọng như Ổ đĩa, RAM, CPU, Dịch vụ, Thời gian uptime và EventLog – rất phù hợp cho các kỹ sư IT muốn triển khai hệ thống giám sát chuyên nghiệp.